You already have half of your event registration system. It's sitting inside Google Forms and Google Sheets.
That's the position a lot of teams are in. They need a clean way to collect registrations, track who picked which ticket or session, and avoid the usual spreadsheet mess on event week. They don't want to buy a heavy platform too early, and they definitely don't want staff learning a brand-new dashboard just to run one conference, workshop, campus event, fundraiser, or internal meetup.
A practical event registration template solves that. Start with a form people can finish quickly. Send every response into a sheet your team can filter, clean, and act on. Then, when the event gets more serious, add QR tickets and check-in on top of the same Google workflow instead of rebuilding everything from scratch.
Table of Contents
- Designing Your Foundational Event Registration Form
- Implementing Conditional Logic for a Smarter Form
- Organizing and Managing Registrants in Google Sheets
- From Spreadsheet to Tickets with QR Code Generation
- Executing Flawless Check-ins and Access Control
- Putting Your All-in-One Registration System to Work
Designing Your Foundational Event Registration Form
Registration problems usually start before promotion, ticketing, or check-in. They start with a form that asks for too much, asks questions in the wrong order, or collects details nobody on the team will use.
A good foundational form has one job. Capture the minimum information needed to register the right person, place them in the right attendee category, and give your team clean data to work from in Google Sheets.
That is why Google Forms works so well at the start. It is fast to build, easy to share, and already connected to the spreadsheet your team will use later. The gap is not the tool. The gap is usually form design.
Start with fields that affect operations
Use a simple filter for every question: will this answer change entry, pricing, seating, catering, communications, invoicing, or follow-up?
If the answer is no, leave it out of version one.
For many events, the first screen only needs:
- Identity fields: full name and email
- Attendance fields: ticket type, RSVP status, or attendee category
- Day-of logistics: phone number, if your team may need to reach attendees quickly
- Requirements: dietary or accessibility needs, when relevant
- Organization context: company, school, or department only if it affects badges, seating, reporting, or access
That discipline protects completion rates and gives you cleaner sheet data. Earlier guidance from Gevme on event registration form best practices supports the same approach: keep the first form short, focus on required information, and collect extra detail only when it serves a clear purpose.
Practical rule: Build the first form for completion and operations, not for curiosity.
For example, a B2B conference team might want job title, industry, session interests, travel dates, emergency contact, meal preference, T-shirt size, and referral source. Some of those fields may matter later. They do not all belong before someone has even secured a spot. Session preferences can come after registration. Travel details can sit in a follow-up form. Referral source may only matter if marketing has a clear reporting plan for it.
Match the form to the event you are running
A workshop registration form should not look like a gala RSVP. A webinar form should not ask the same questions as a multi-day festival pass.
Use the event format to decide what belongs on the form.
| Event Type | Core Fields to Collect First | Fields to Collect Later or Only If Needed |
|---|---|---|
| Corporate conference | Full name, email, company, attendee type, dietary needs | Job title, session picks, accessibility details |
| Paid workshop | Full name, email, phone, ticket type | Experience level, questions for the speaker |
| Webinar | Full name, email, consent to receive access details | Company, role, referral source |
| Fundraiser or gala | Full name, email, ticket quantity, guest names, meal preference | Donation interest, seating notes |
| Multi-day festival | Full name, email, pass type, arrival day | Camping option, add-ons, emergency contact |
| Invite-only briefing | Full name, email, invitation code, attendee category | Assistant contact, reception attendance |
This table is a starting point, not a template to copy line by line. The main goal is to stop using one oversized master form for every event on the calendar.
Order questions in the way attendees answer them
Teams often sort questions by internal departments. Marketing wants attribution. Operations wants dietary needs. Sales wants job title. Finance wants billing details.
Attendees do not think that way.
Start with the easiest questions first. Name and email are low effort. Ticket type or attendance category usually comes next. Details that require thought, such as accessibility notes or guest information, should come later. Consent and policy confirmation belong near the end, once the attendee already has momentum.
A practical order looks like this:
- Basic identity
- Attendance or ticket choice
- Event-specific operational details
- Consent, policy, or payment-related confirmations
That order does two useful things. It reduces drop-off, and it gives you a better column structure in Google Sheets because your most-used sorting fields appear first.
Build for usable spreadsheet data
A form is not finished when it looks clean on the front end. It also needs to produce answers your team can sort, filter, and act on.
Use multiple choice, dropdowns, and checkboxes wherever you can. Free-text answers create cleanup work later. If one hundred attendees type their dietary preference manually, you will get one hundred slightly different versions of the same five answers. If they choose from a controlled list, your catering count is ready in minutes.
The same rule applies to ticket type, department, attendee category, and session track. Structured fields make Google Sheets useful from day one. They also make the next upgrade much easier when you move from a free registration workflow into QR ticketing and check-in without rebuilding everything from scratch.
A strong foundation in Google Forms is what makes that upgrade possible.
Implementing Conditional Logic for a Smarter Form
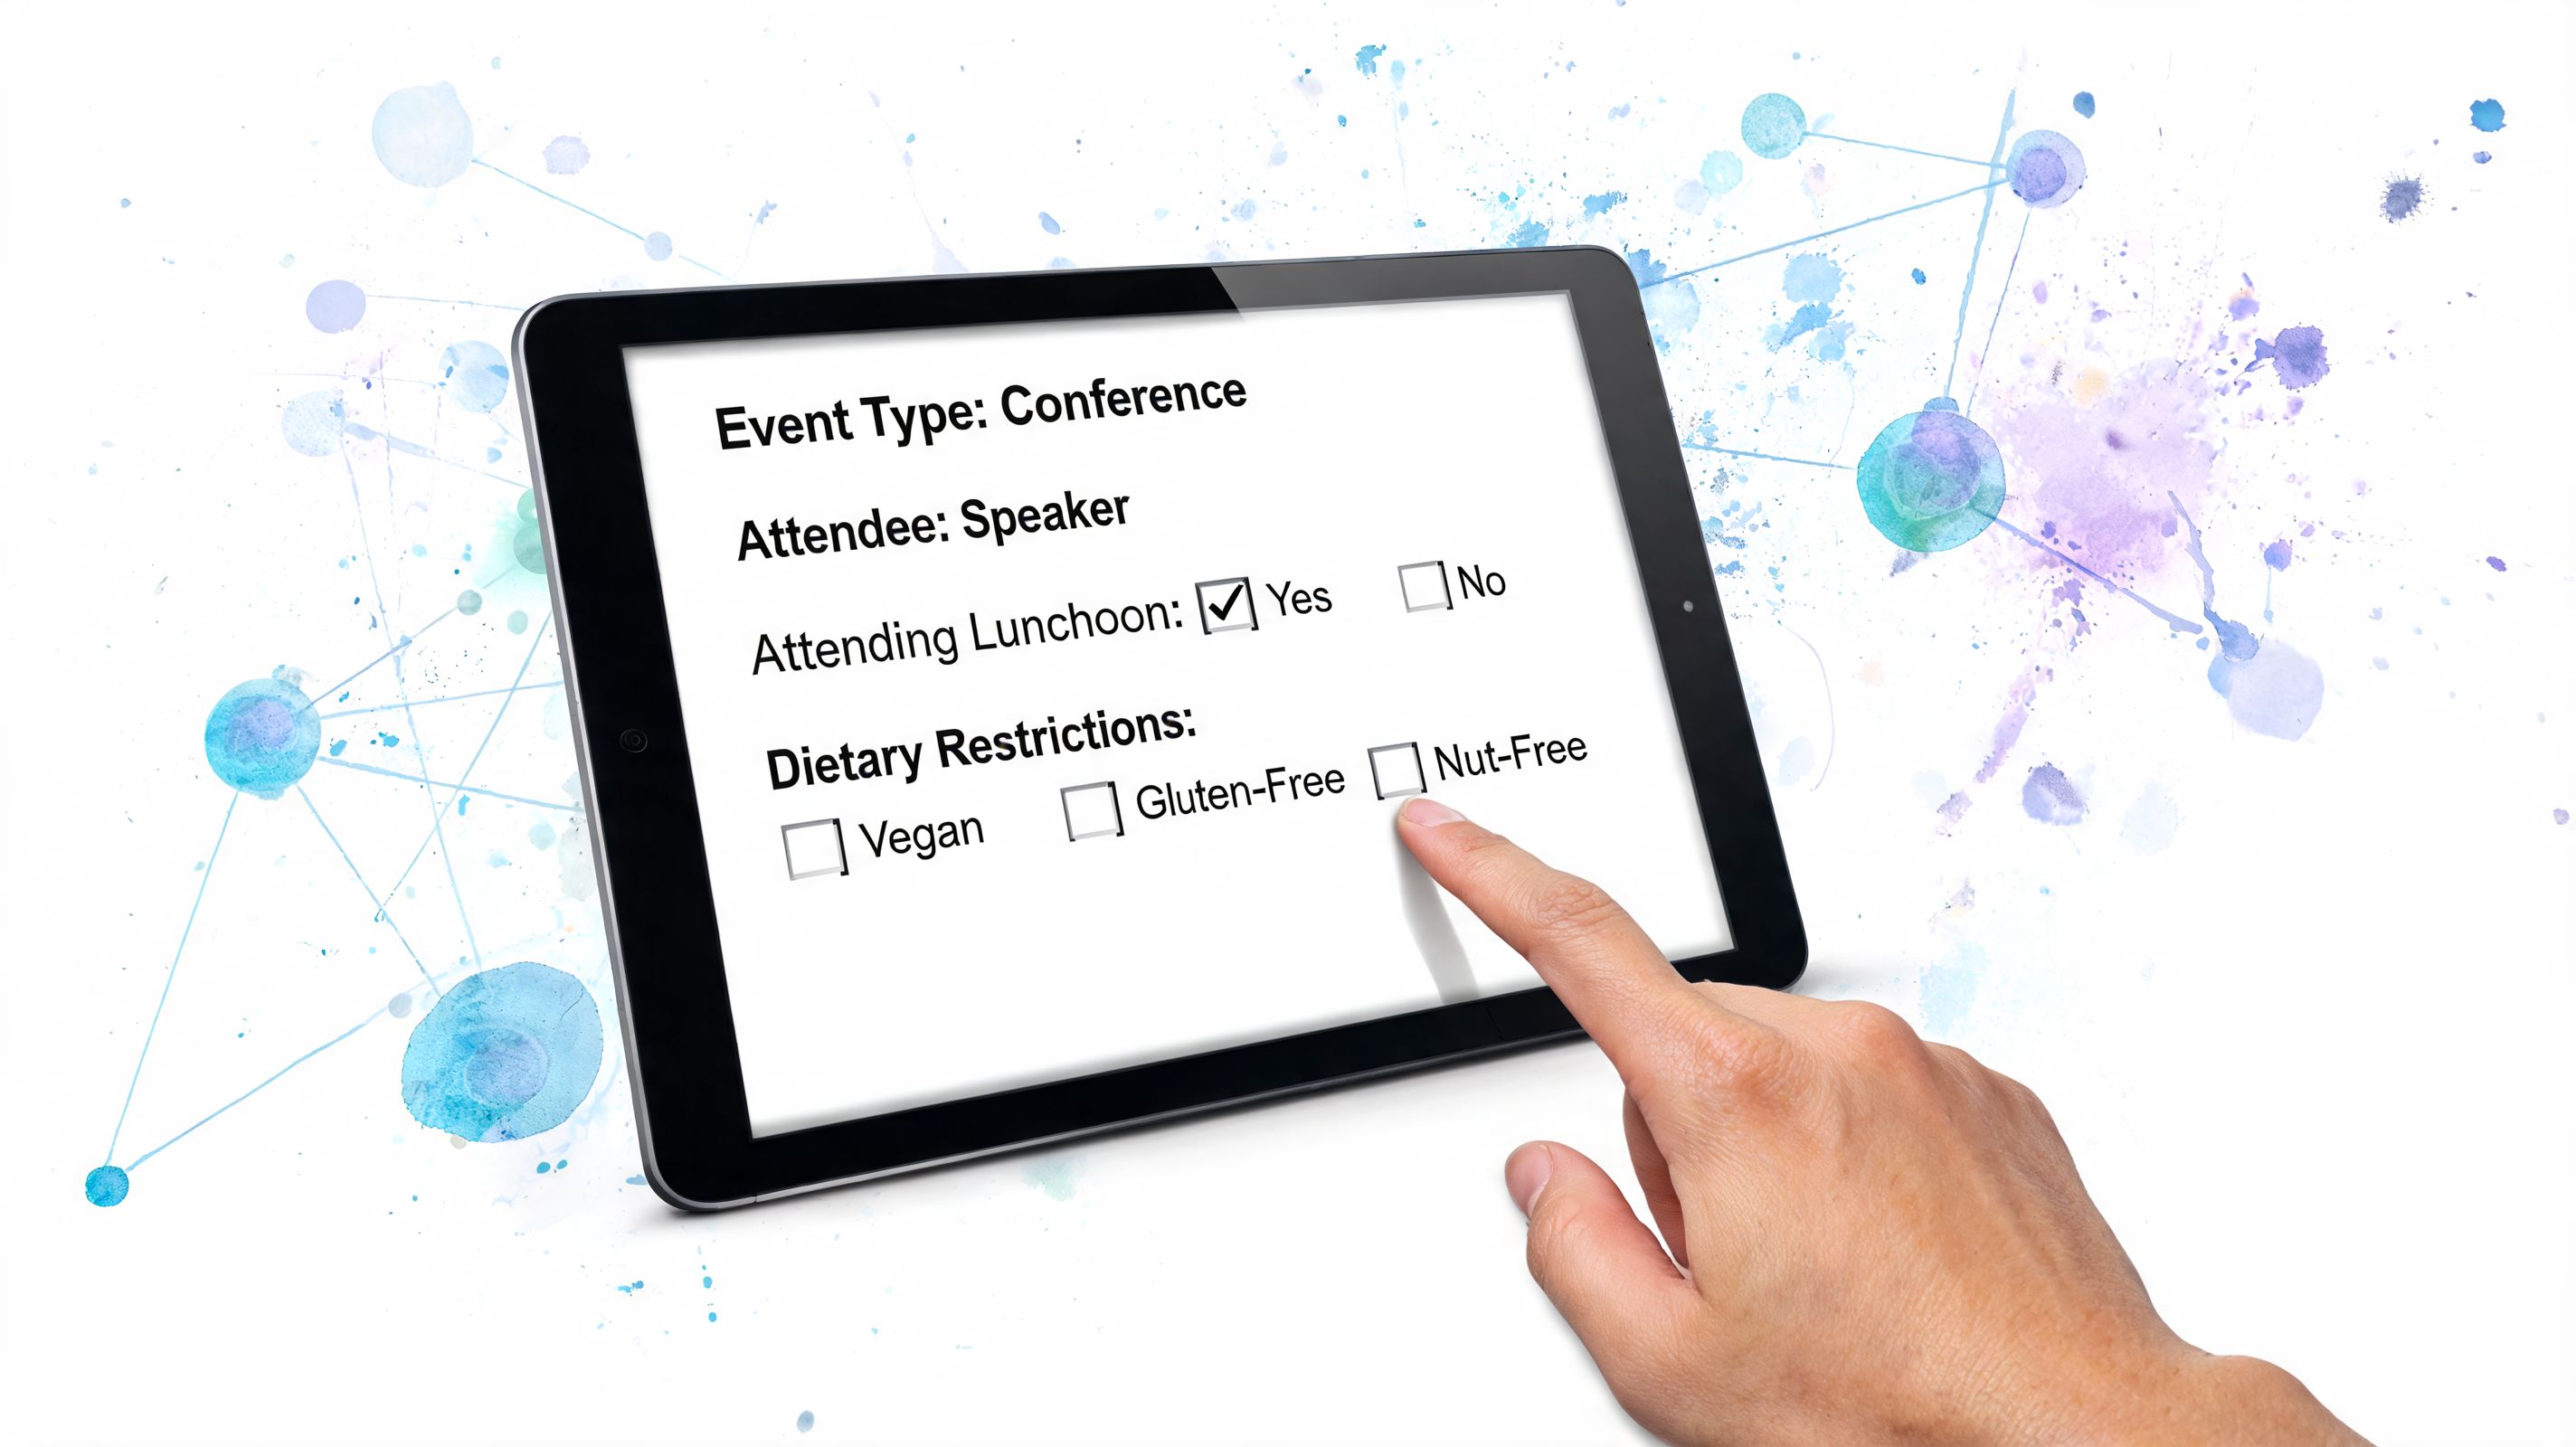
A attendee on a phone should not have to scroll past VIP perks, sponsor fields, speaker logistics, and guest details that do not apply to them. Good conditional logic removes that friction. It keeps the form short for the attendee and keeps the response data cleaner for the team.
In Google Forms, this works through sections and answer-based routing. That sounds basic, but it is enough for many real event workflows if you plan the branches before you build them.
Where branching helps most
Branching pays off when one answer changes what your team needs to know next.
- Ticket-based paths: VIP attendees can get reception, parking, or hospitality questions. General admission attendees skip them.
- Group registration follow-up: If someone is registering extra guests, show guest detail fields. If not, keep moving.
- Session logic: Show only the breakout options that match the day, track, or pass type selected.
- Accessibility follow-up: Ask for details only after someone says they need support.
- Internal versus public registration: Staff, volunteers, sponsors, and attendees often need different fields, even for the same event.
Used well, branching cuts irrelevant questions without forcing you into a separate tool too early.
How to set it up in Google Forms
The cleanest version starts with one decision point near the top of the form. Usually that is ticket type, attendee category, or registration path.
Then build from there:
Create a core opening section
Collect name, email, and the one answer that determines the attendee's path.Add a separate section for each branch
Keep each one focused. VIP add-ons, guest details, workshop choices, and accessibility follow-up should not live in one mixed block.Use multiple choice for routing questions
Google Forms handles branching best when one answer sends the attendee to one next section.Set "Go to section based on answer"
Assign each answer to the right section, then check every path manually before you publish.Bring everyone back to one closing section
Put final confirmations, summary questions, or next-step instructions in one shared endpoint.
A simple example: if an attendee picks VIP, send them to a section for reception attendance and premium access options. If they pick General Admission, skip that section and move them straight to session selection.
Build logic your team can maintain
Teams often overbuild here.
Google Forms can handle practical branching well. It does not handle highly nested event logic gracefully. If your form has six different attendee types, each with different add-ons, discount rules, companion policies, and access levels, keep the form logic focused on data collection and leave fulfillment to the sheet or your ticketing layer later.
A good rule is simple. If your staff cannot explain the routing on one page, the form is probably too complicated.
Use clear section names too. "Sponsor Booth Details" works better than "Section 5." A month later, when you need to update the form or map responses into a ticket export, those labels save real time. That becomes even more useful if you later move to a Google Sheets ticket-per-row workflow for QR tickets and check-in instead of rebuilding your registration process from scratch.
Why conditional logic matters operationally
Conditional logic improves completion because attendees only see questions that apply to them. It also improves operations because your team gets fewer half-relevant answers and fewer blank columns caused by broad, one-size-fits-all forms.
There is a trade-off. Every branch you add creates one more path to test, document, and maintain. For small and mid-sized events, a few clear branches usually outperform a highly customized form that breaks the first time ticket types change.
The best setup feels simple to the attendee and stays predictable for the organizer.
Keep the response data clean
Branching also makes the spreadsheet easier to work with later. VIPs answer VIP questions. Workshop attendees answer workshop questions. Attendees without accommodation requests never see those fields.
That structure matters once registrations start turning into tickets, check-in lists, and access rules. If you use Google Forms and Sheets well at this stage, the upgrade to a professional QR ticketing workflow is much easier because the logic is already organized around real attendee paths, not one long generic form.
Organizing and Managing Registrants in Google Sheets
When responses start coming in, the form is no longer the main system. The sheet is.
Many teams often lose control. They collect registrations successfully, then manage the list poorly. The result is duplicate edits, accidental sorting mistakes, unclear payment status, and last-minute panic over who's attending.
Google Sheets can handle event operations well if you treat it like a working database instead of a scratchpad.
Set up the sheet for staff use
The response tab that Google Forms creates is only the starting point. Create a second working tab for your team if you need to sort, enrich, or prepare exports without risking the raw submission data.
A few setup habits make a big difference:
- Freeze the header row: Staff can scroll without losing field names.
- Turn on filters: Filter by ticket type, status, meal selection, or session.
- Protect key columns: Prevent accidental edits to core registrant data.
- Add internal-use columns: Include payment confirmed, badge printed, check-in status, notes, or host assigned.
- Use consistent status labels: Pick one format such as Registered, Pending, Cancelled, Checked In.
Modern event registration forms help here because they reduce manual data entry errors and streamline essential attendee data collection, which is one reason templated systems are so useful for clean attendee management, from dietary needs to ticket selections, as noted in Jotform's event registration analytics template page.
Separate attendee-facing data from internal operations
Not every column belongs in the form. Some should only exist in Sheets.
For example, attendees can select a ticket type in the form, but your team may need internal columns for:
- Invoice reconciled
- Speaker comp approved
- Arrival confirmed
- Badge pack complete
- Special handling required
That split keeps the form concise while giving operations staff what they need on the back end.
A useful registration sheet answers two questions fast. Who is this person, and what does my team need to do next?
Use filters like views, not like one-off searches
Filtering is where Sheets starts to feel like a lightweight event platform.
Create saved filter views for common tasks. One for VIPs. One for unpaid registrations. One for workshop A. One for dietary exceptions. One for same-day registrations. That way, the catering lead, registration desk, and event producer can all look at the same master sheet through different lenses.
If you're preparing ticket records or a one-row-per-attendee structure, this guide on creating a Google Sheets ticket per row workflow is a useful reference.
Handle imports and exports carefully
You won't always start from zero. Sometimes you already have invitees in a CSV from a CRM, membership system, or past event file. Import those lists into a separate tab first, normalize the column names, and only then merge what belongs in your live event sheet.
The same applies at the end. Before exporting for badges, ushers, or venue teams, clean the list:
- Remove duplicates
- Standardize capitalization
- Check blank critical fields
- Confirm final status labels
- Lock the final export version
That discipline prevents the classic problem where one team prints from an outdated file while another team checks in from a newer list.
Keep one source of truth
The biggest spreadsheet mistake isn't technical. It's organizational. Teams create too many versions.
Use one primary Google Sheet as the source of truth. If someone needs a report, build a filtered tab or export a copy with a date in the filename. Don't let multiple live attendance lists circulate during event week.
When that rule is followed, Google Sheets becomes reliable enough for serious event operations.
From Spreadsheet to Tickets with QR Code Generation
A spreadsheet can run registration. It doesn't feel professional until attendees receive an actual ticket.
That's the point where many teams think they need to migrate to a full ticketing platform. In practice, you can keep the workflow inside Google and layer ticket generation onto the attendee data you already organized.
The upgrade path that makes sense
A clean Google Sheet already contains most of what a ticketing system needs:
- attendee name
- ticket type
- event date
- optional zone or session access
- internal status fields
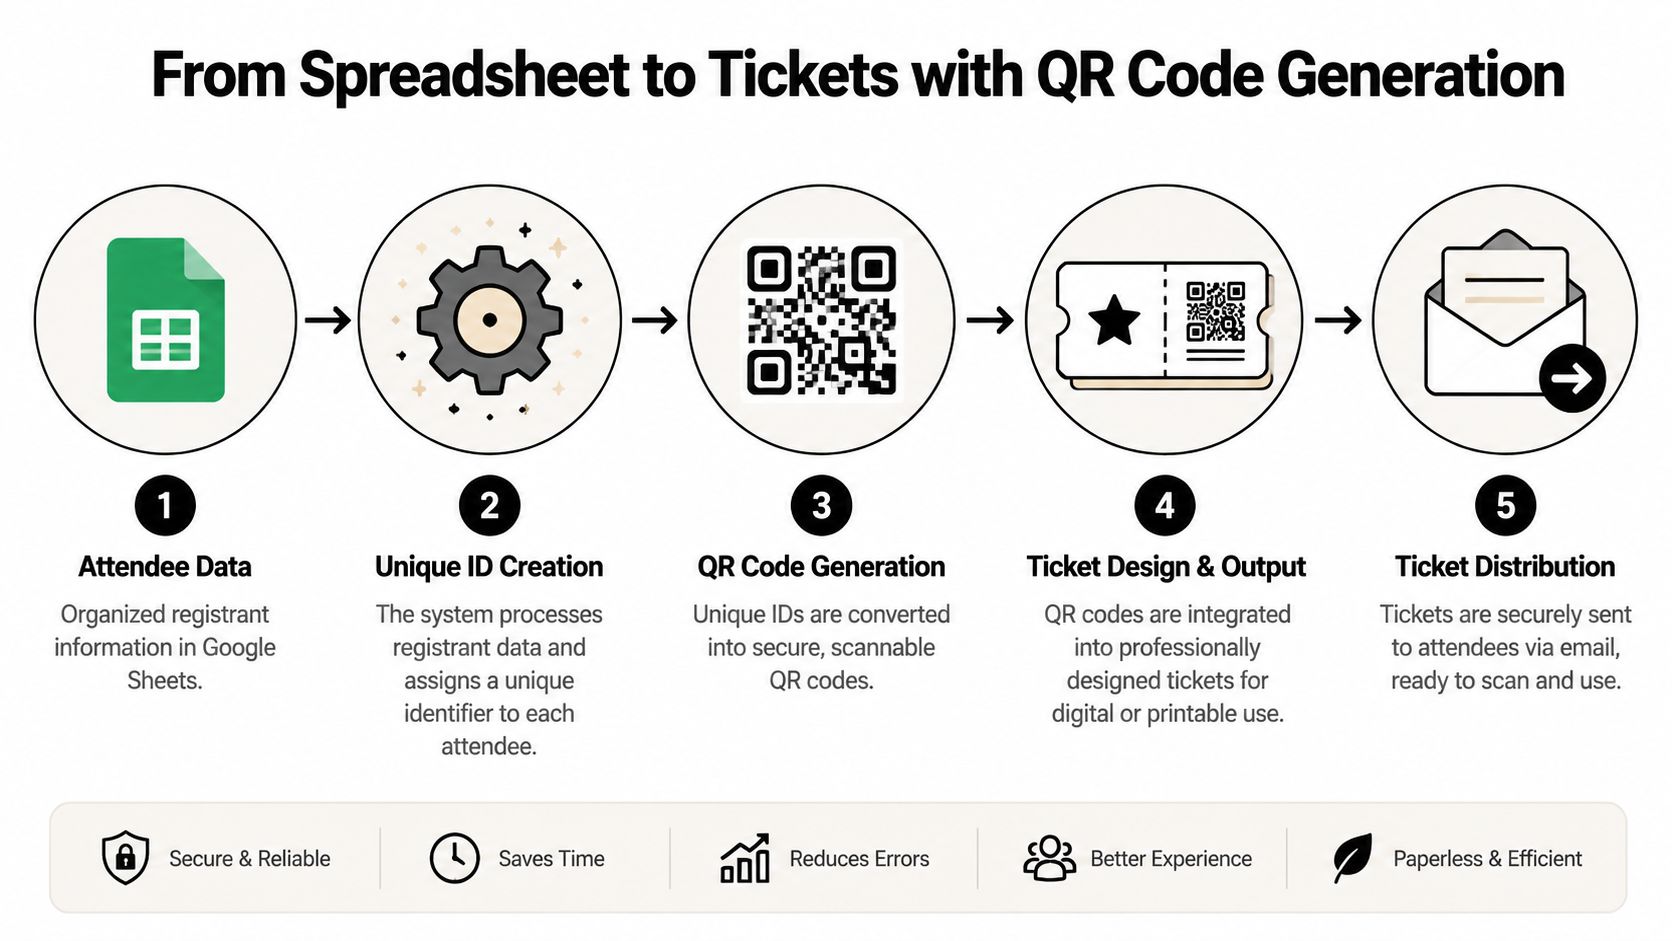
The next step is assigning each attendee a unique identifier, generating a QR code from that identifier, and placing it onto a branded ticket layout. Done well, this gives you individual tickets that can be emailed, saved to a phone, printed, and scanned at the door.
If you want a practical walkthrough of this workflow, this guide to Google Forms QR code registration shows how registration data can move toward ticketing without leaving the Google ecosystem.
How the process works in real operations
Think of it as a production line rather than a one-time export.
First, you finalize your attendee sheet. Next, each row gets matched to a unique ticket record. Then a ticket template pulls values from the sheet, such as attendee name, event title, date, seat or access level, and the QR code image. After that, tickets are generated in bulk and distributed through the channels your audience uses, usually email and sometimes WhatsApp.
The key is that the spreadsheet remains the control center. You don't retype attendee details into another dashboard.
Here's the logic in a simple sequence:
- Clean the attendee list so every row represents one valid attendee
- Assign a unique ID to each record
- Generate a QR code tied to that ID
- Merge the code into a ticket design
- Send tickets in bulk to registrants
Brand the ticket without overdesigning it
The best digital tickets are clear before they're beautiful.
Include the essentials first: event name, attendee name, date, venue, ticket type, and the QR code. Then add branding such as logo, color band, or sponsor treatment. Avoid turning the ticket into a poster. Door staff need readable information, and attendees need something that loads well on a phone screen.
A short explainer helps if your audience isn't used to digital entry.
Why this matters beyond the ticket itself
Tickets aren't only for entry. They create cleaner data and better operational visibility.
As a projection for 2026, Eventbrite's event registration template article notes that advanced analytics have become standard, including tracking ticket sales over time and the geographic origin of registrants. Even if you're running a lightweight Google-based setup, that mindset matters. When registration, ticketing, and attendance data stay connected, you make better decisions about reminders, capacity planning, and audience targeting.
The real upgrade isn't the QR graphic. It's turning one spreadsheet row into a trackable attendee record from sign-up to entry.
That's what makes the system feel professional.
Executing Flawless Check-ins and Access Control
Registration ends when the attendee gets a ticket. Event operations don't.
The true test happens at the entrance, when several people arrive at once, one attendee can't find their email, another presents a screenshot, and a sponsor asks why a standard pass just entered the VIP lounge. A good event registration template helps at sign-up. A good check-in workflow protects the experience on site.

What a smooth entry flow looks like
At the door, staff should be able to scan a QR ticket and immediately see whether it's valid, already used, or tied to a different access level. That response has to be quick, and it has to sync across the team so duplicate scans don't create confusion.
For larger venues or multi-zone events, access control matters as much as speed. A workshop ticket might allow entry to one room but not another. A VIP pass might grant lounge access but not backstage entry. That's where linked ticket data becomes operational, not just administrative.
A practical event-day setup usually includes:
- One scanning device per entry point
- A fallback list for exceptions
- Clear staff roles for scan, resolve, and direct
- Separate handling for VIP, speakers, or special access
- A process for low-connectivity areas
If your event has crowd management risks or high-value restricted areas, physical access planning matters too. This overview of event security considerations from GM GROUP Services is a useful companion to the digital side of check-in.
Use the scan data after the first gate
A lot of teams stop at front-door validation. That leaves useful control on the table.
The same QR-based record can support session check-ins, staff-only areas, hospitality zones, and re-entry rules. If you're mapping ticket permissions to access zones, this guide to QR code event ticketing and access control shows the operational model clearly.
What matters in practice is consistency. Staff need to know what the scan result means and what to do next. Green means admit. Duplicate means pause and verify. Wrong zone means redirect politely. Manual override should exist, but only for trained staff.
Smooth check-in is part software, part staffing, and part line design. Weakness in any one of those shows up immediately at the door.
Measure what happened after the event
Post-event review is where good teams improve fast.
The Event Planner Expo's event registration best practices highlights registration conversion rate with a benchmark of 15% to 25%, form abandonment below 30%, and no-show rate below 15% for paid events as key metrics to track. The same source notes that integrated reminder workflows can cut no-shows by 10% to 15%.
Those numbers are useful because they connect the full chain. A registration form that looked fine may have leaked people before payment. A strong ticket send may still produce weak attendance if reminders were poor. A packed registration list can still cause entry trouble if access permissions were set loosely.
Plan for exceptions, because they always happen
Someone will arrive with the wrong email. Someone will bring a guest who isn't listed correctly. Someone's phone brightness will be too low to scan.
The answer isn't to build a perfect system that assumes none of that happens. The answer is to build a system that keeps exceptions small and visible. That means a searchable attendee list, staff who know escalation rules, and scan validation that updates in real time when connectivity allows.
That's how the registration workflow proves itself under pressure.
Putting Your All-in-One Registration System to Work
The reason this approach works is simple. Teams typically don't need more software at the start. They need a better process.
A well-built event registration template in Google Forms gives you fast deployment, familiar editing, and a clear handoff into Google Sheets. That alone solves a lot of real event problems: messy intake, unclear attendee categories, poor visibility into registrations, and too much manual cleanup before the event.
From there, the system scales in a sensible order. First collect the right fields. Then organize the data in Sheets so staff can act on it. Then generate tickets from the same records. Then use those records again for entry and access control. Nothing gets rebuilt. The workflow becomes more capable.
Why this setup is hard to beat
The market has broadened a lot. No-code event tools now serve a wide range of needs, and the latest shift has been toward using familiar tools like Google Sheets and Forms as the base for fuller event systems, as noted qualitatively in the earlier discussion and supported by the broader market view in the source used there.
That matters because familiarity reduces errors. Your team already knows how to edit a Google Form, sort a Sheet, and review responses. You're not spending event week teaching temporary staff an unfamiliar backend.
Where this approach fits best
This model works especially well for:
- Workshops and seminars with structured registration fields
- School and university events where staff already live in Google Workspace
- Nonprofit and community events that need low-cost control
- Corporate events that want flexibility without adding another platform
- Agencies that need repeatable workflows across different clients
Promotion still matters, of course. If you're tightening your registration setup and also working on turnout, this event promotion guide from The Print Warehouse Ltd is a practical companion read.
The strongest setup is often the one your team can run confidently at speed.
If you're building from scratch, start small and build cleanly. A short form, a disciplined sheet, and a clear path to tickets and check-in will take you much further than many might anticipate.
If you want the Google-based workflow to grow into branded QR tickets, bulk delivery, and live check-in without forcing your team into a new dashboard, Darkaa is built for that exact handoff. It extends Google Forms and Sheets into a full ticketing and access workflow while keeping the operational center inside tools your team already uses.