티켓 디자인을 완전히 내 손에
로고 추가는 기본 편에서 다룹니다. 이 페이지는 티켓에 전체 레이아웃을 담거나 지갑 패스에 브랜드를 입혀야 할 때, 그리고 나중에 필드 이름을 바꿔도 디자인이 계속 작동하게 할 때 필요합니다.
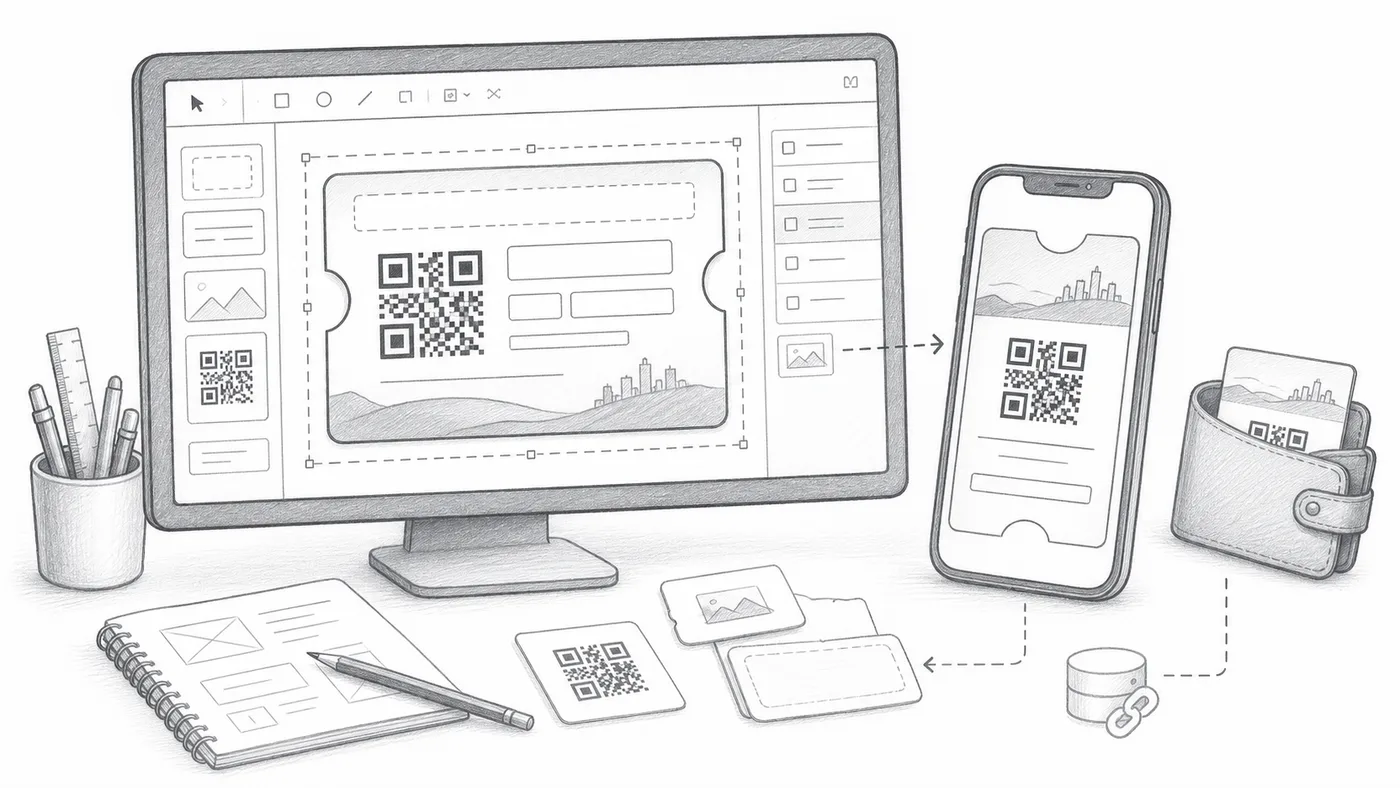
1단계
실제 필드로 디자인하세요
시트나 양식 응답에 있는 참석자 필드를 사용하세요.
2단계
저장하고 렌더링을 테스트하세요
샘플 티켓을 생성하고 모바일에서 살펴보세요.
3단계
필드 변경을 신중하게 처리하세요
나중에 필드 이름을 바꾸거나 삭제하면 참가자 데이터를 갱신하거나 디자인을 새 필드로 향할 때까지 디자인이 깨집니다.
작동 방식
예시
Ada Mensah의 티켓은 참조된 모든 필드가 있을 때만 올바르게 렌더링됩니다.
이런 실수를 피하세요
- 시트 열 이름을 바꾸면 데이터가 동기화될 때까지 티켓 렌더링이 깨질 수 있습니다.
- 월렛 배너 이미지는 실제 휴대폰에서 테스트해야 합니다.
- 인쇄된 텍스트가 배지 크기에서도 읽히도록 하세요.
다음 단계
QR 코드 티켓을 시작할 준비가 되셨나요?
Google Sheets, Google Forms, Jotform, Tally, Fillout 또는 WordPress용 QR 코드 티켓을 만드세요. 이미 사용 중인 워크플로를 선택한 다음 참석자 명단을 한곳에 유지하세요.