Take full control of your ticket design
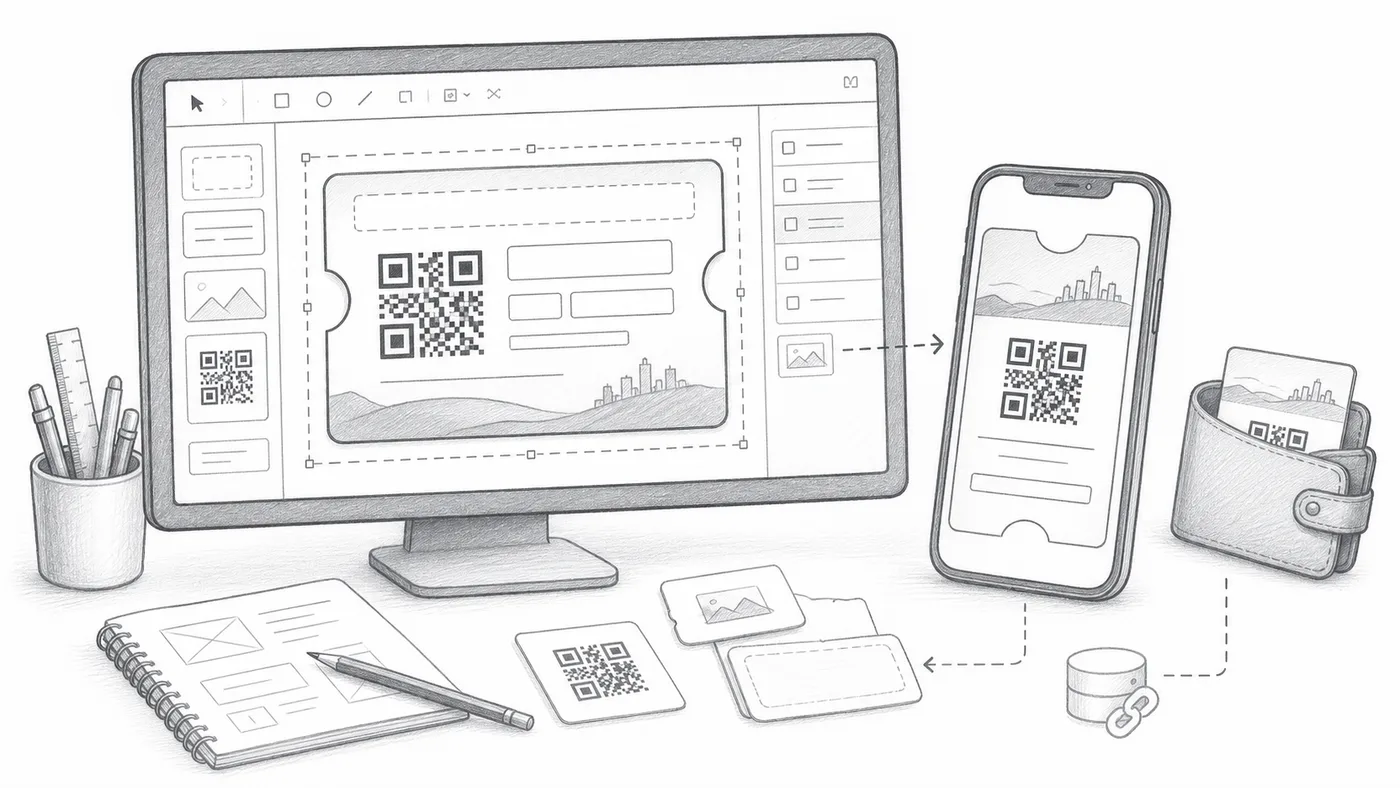
Adding a logo is covered in the basics. This page is for when the ticket must carry your whole layout, or your wallet passes must wear your brand — and for keeping designs working when you rename fields later.
Step 1
Design with real fields
Use attendee fields that exist in the sheet or form responses.
Step 2
Save and test render
Generate a sample ticket and inspect it on mobile.
Step 3
Handle field changes deliberately
Renaming or deleting a field later breaks the design until you update attendee data or repoint the design at the new field.
How it works
Example
A ticket for Ada Mensah renders correctly only when all referenced fields exist.
Avoid these mistakes
- Renaming sheet columns can break ticket rendering until data is synced.
- Wallet banner images should be tested on an actual phone.
- Keep printable text readable at badge size.
Next step
Ready to get started with QR code tickets?
Create QR code tickets for Google Sheets, Google Forms, Jotform, Tally, Fillout, or WordPress. Pick the workflow you already use, then keep your attendee list in one place.