Change how your ticket looks
Use this to make the ticket look like your event before you send anything.
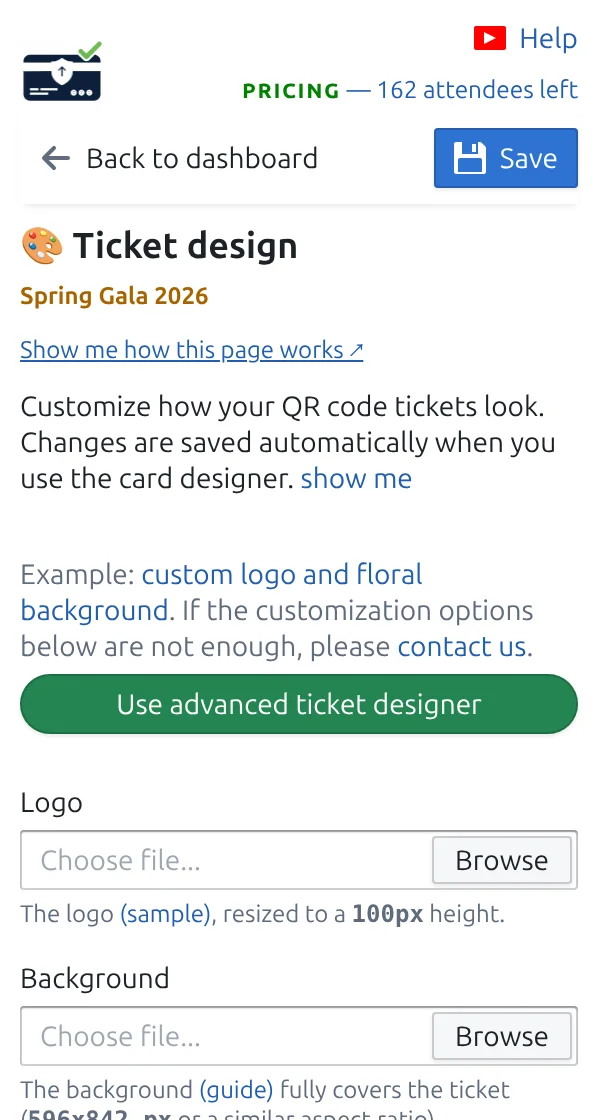
Step 1
Open Ticket design
You see a live preview of the ticket, so every change is visible right away.
Step 2
Add your logo and background
Keep the background light so the QR code and the guest name stay easy to read.
Step 3
Choose which details appear
Pick which answers fill the big title and the smaller line under it, for example the guest name and their ticket type.
How it works
Example
The ticket shows your logo, the name Ada Mensah and the QR code your staff will scan.
Watch how it works
Avoid these mistakes
- Very dark backgrounds behind the QR code make scanning slower.
- Long titles get cut, so prefer short fields for the big line.
- Tickets already sent keep the old design; send again to update them.
See it in a real setup
- Running 34 school balls a season from one Google Sheet template
- A 2,000-delegate medical conference run from Google Sheets
- A 600-guest community gala invited and confirmed entirely on WhatsApp
- A 1,200-person company family day registered through Google Forms
- Weekly club nights with VIP, Gold, and General tickets from parallel sheets
Next step
Ready to get started with QR code tickets?
Create QR code tickets for Google Sheets, Google Forms, Jotform, Tally, Fillout, or WordPress. Pick the workflow you already use, then keep your attendee list in one place.