Show staff the right details when they scan
When a guest walks up, your staff have seconds to decide whether this is the right person. This setting chooses the words that appear on the scanner after each scan, so they can confirm a name, a company, or a seat without opening anything else.
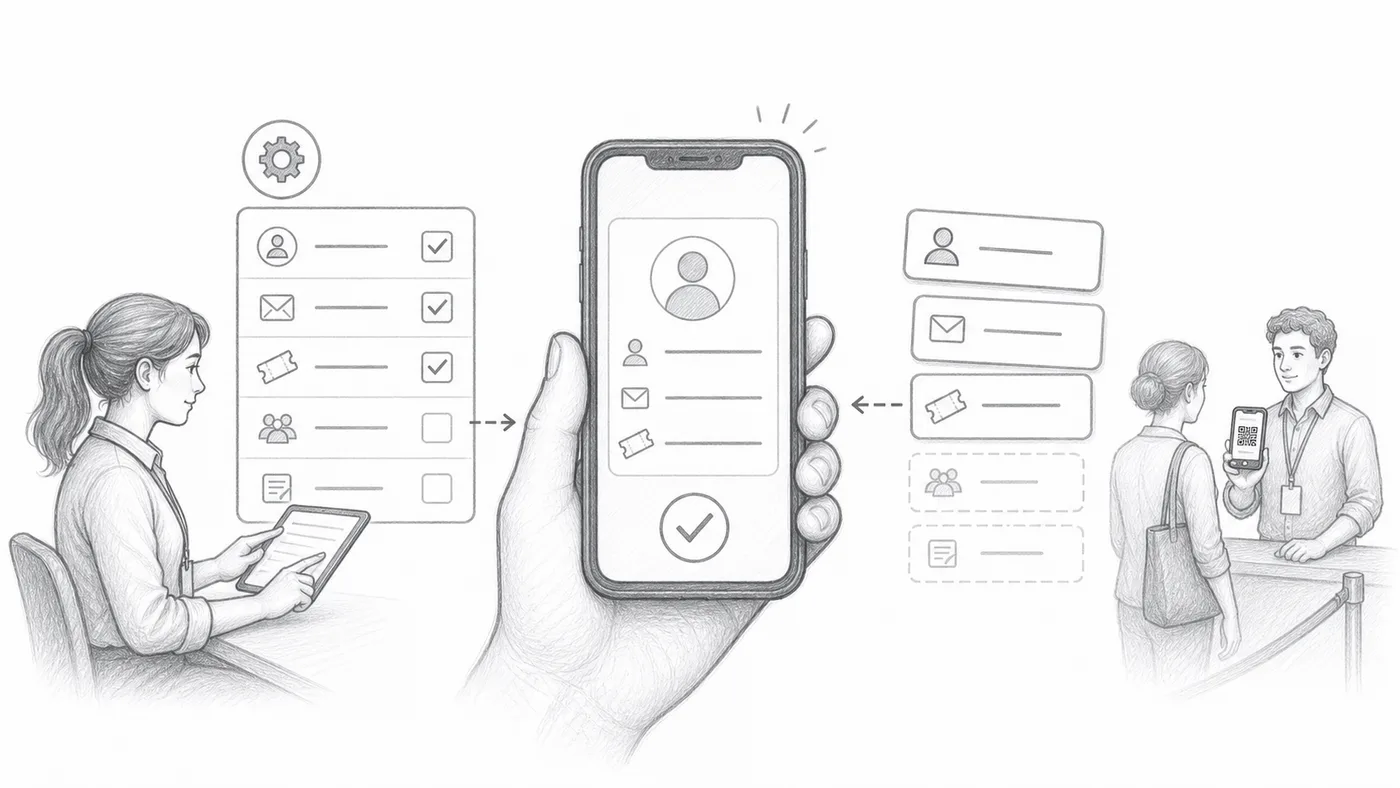
Pick useful fields
At a busy door, a name alone is often not enough. Pick details that settle doubts fast, such as company, ticket type, or seat — things staff can check against what the guest tells them.
Build the format
Put those fields together with short labels or separators, like Name · Company · Seat. That combined line is what shows up big on the scanner after each scan.
Scan a test ticket
Scan your own ticket on a phone: if you can read the card at arm’s length in a second, your staff can too.
How it works
Example
{First name} {Last name} - {Company} can render as the main attendee line in the scanner.
Avoid these mistakes
- Do not overload the scanner with too many fields.
- Avoid fields that are often blank.
- Sheets users must sync attendee data after changing referenced columns.
See it in a real setup
Next step
Ready to get started with QR code tickets?
Create QR code tickets for Google Sheets, Google Forms, Jotform, Tally, Fillout, or WordPress. Pick the workflow you already use, then keep your attendee list in one place.