GPS, signature, at mga check-in field
Gamitin ito para sa mga delivery, attendance sa training, audit trail, consent, o proof of presence.
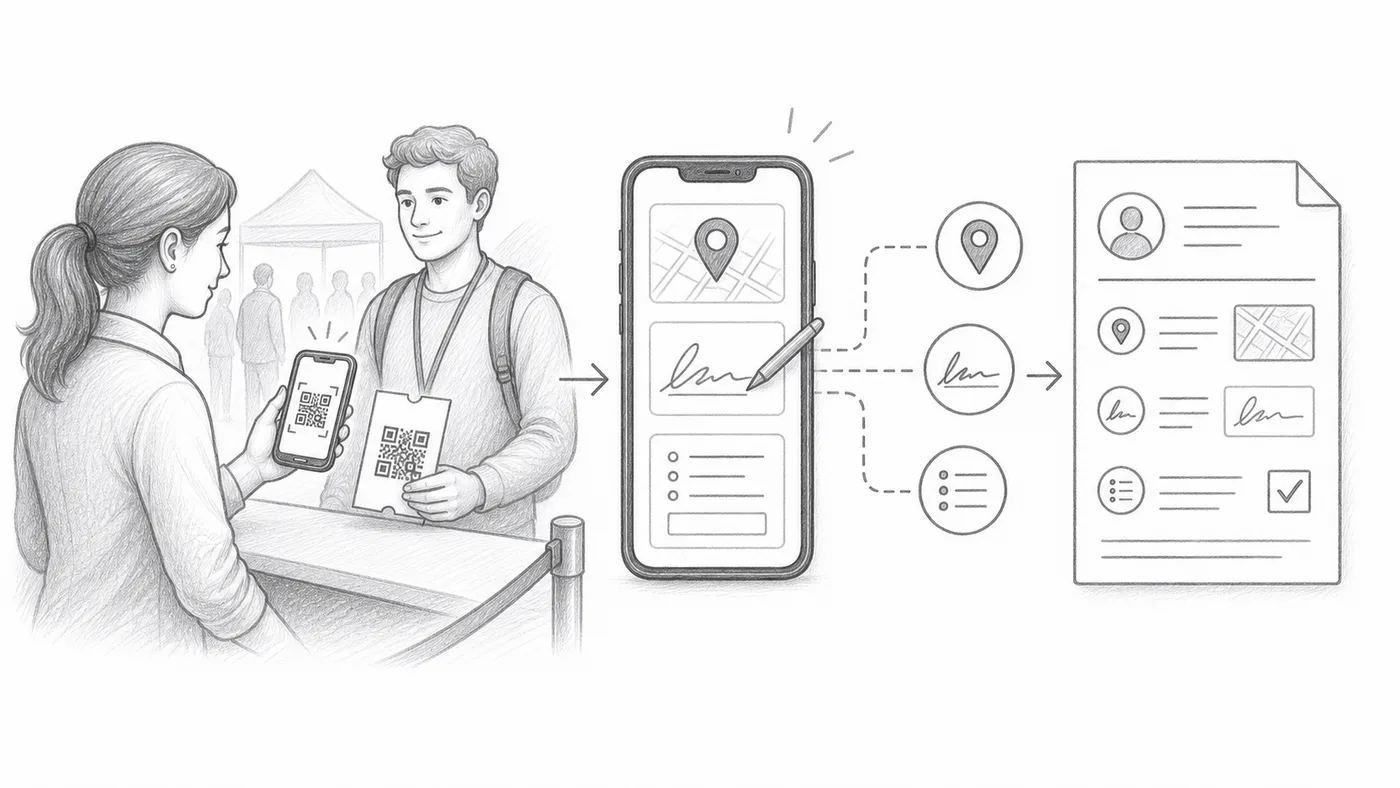
I-enable ang mga capture option
Ang GPS, signature, at mga custom check-in form field ay nasa Mga setting ng check-in lahat — ang GPS at signature ay nasa ilalim ng Mga advanced na setting ng check-in.
Turuan ang staff sa dagdag na hakbang
Bawat scan ay maaaring mangailangan ng location permission, signature, o field entry.
Suriin ang mga report
Ang mga nakuha na value ay lumilitaw sa mga check-in report sa tabi ng scan history.
Paano ito gumagana
Halimbawa
Ang scan para kay Ada Mensah ay pwedeng may kasamang timestamp, staff account, GPS, signature, at mga custom na sagot.
Iwasan ang mga pagkakamaling ito
- Kailangan ng GPS ng device permission at maaaring hindi available sa loob ng gusali.
- Ang mga dagdag na required field ay nagpapabagal sa pila ng check-in.
- Gumamit ng mga restricted staff account kapag ang mga collector ay dapat mag-scan lang.
Susunod na hakbang
Handa ka na bang magsimula sa mga QR code ticket?
Gumawa ng mga QR code ticket para sa Google Sheets, Google Forms, Jotform, Tally, Fillout, o WordPress. Piliin ang workflow na ginagamit mo na, pagkatapos panatilihin ang attendee list mo sa isang lugar.