Send your first QR code tickets from Google Forms™
With Google Forms™, you do not create tickets by hand. Once this is set up, everyone who fills in your form receives their own QR code ticket by email, on their own. Follow these steps once, with your own address, so you see exactly what your guests get.
How long it takes
About 10 minutes
What you need
- A Google™ account, signed in to only one account in this browser.
- A form that asks people for their email address, or a form set to collect email addresses automatically.
- A phone with a camera, to play the part of your check-in staff.
-
Step 1 of 7
Install the add-on and open it
Install QR Code Ticket Per Response from the Google Workspace™ Marketplace, then open your form and start the add-on from the add-ons menu, at the top right of the form editor. It opens as a panel.
You should now see: You see the add-on panel next to your form.
-
Step 2 of 7
Tell the add-on which question asks for the email address
This is the only thing the add-on really needs: it has to know where to send each ticket. Pick the question here, then scroll down the same page to write the subject and the message people read when their ticket arrives.
You should now see: The email question is chosen and there is no red warning under it.
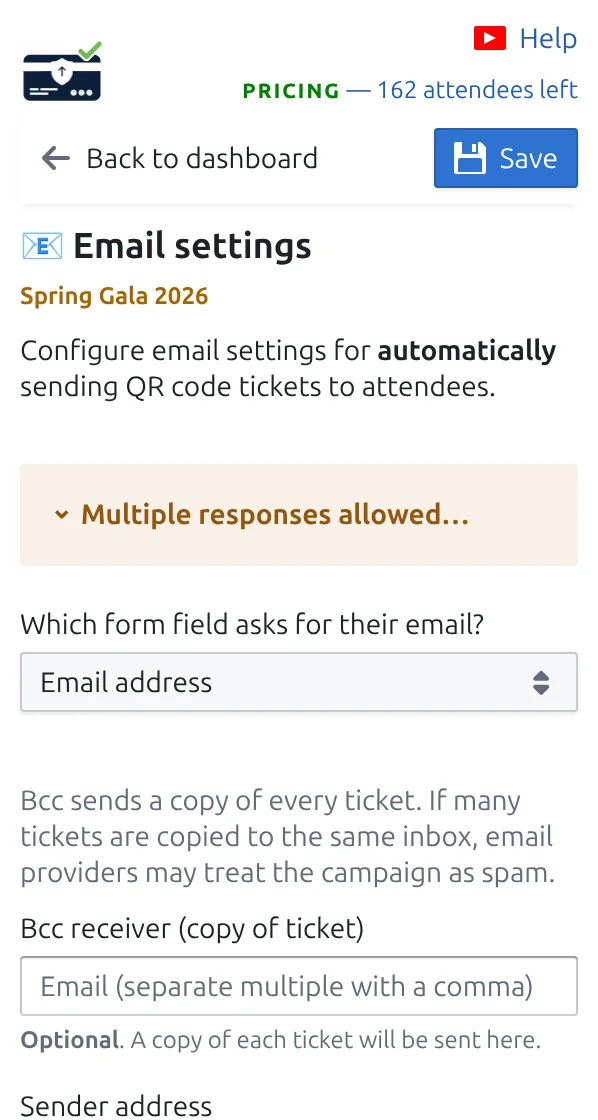
The add-on needs to know which question holds the email address. Tap it to see it bigger. -
Step 3 of 7
Fill in your own form once
Open your form the way your guests will see it, and answer it with your own email address. Within a minute or two, your ticket arrives in your inbox.
You should now see: You receive an email with your QR code ticket attached.
-
Step 4 of 7
Look at your dashboard
Back in the add-on, the dashboard shows your project and gathers everything else: the look of the ticket, the scanner for your team, and your reports.
You should now see: You see how many responses have received their ticket.
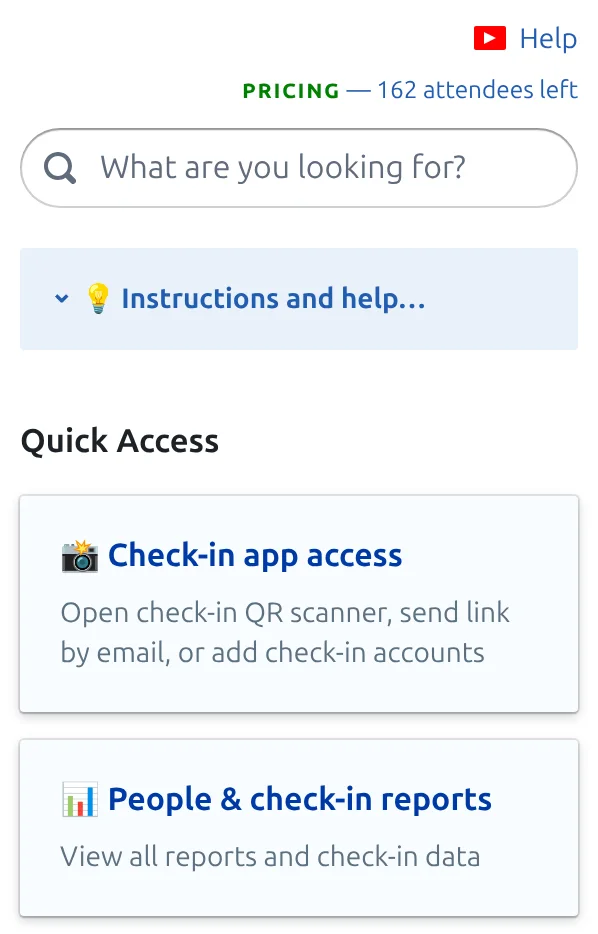
Everything else is reachable from this one screen. Tap it to see it bigger. -
Step 5 of 7
Make the ticket look like your event
Add your logo and choose which answers appear on the ticket. The preview changes as you go, so you can stop as soon as it looks right.
You should now see: The preview shows your logo and the guest name.
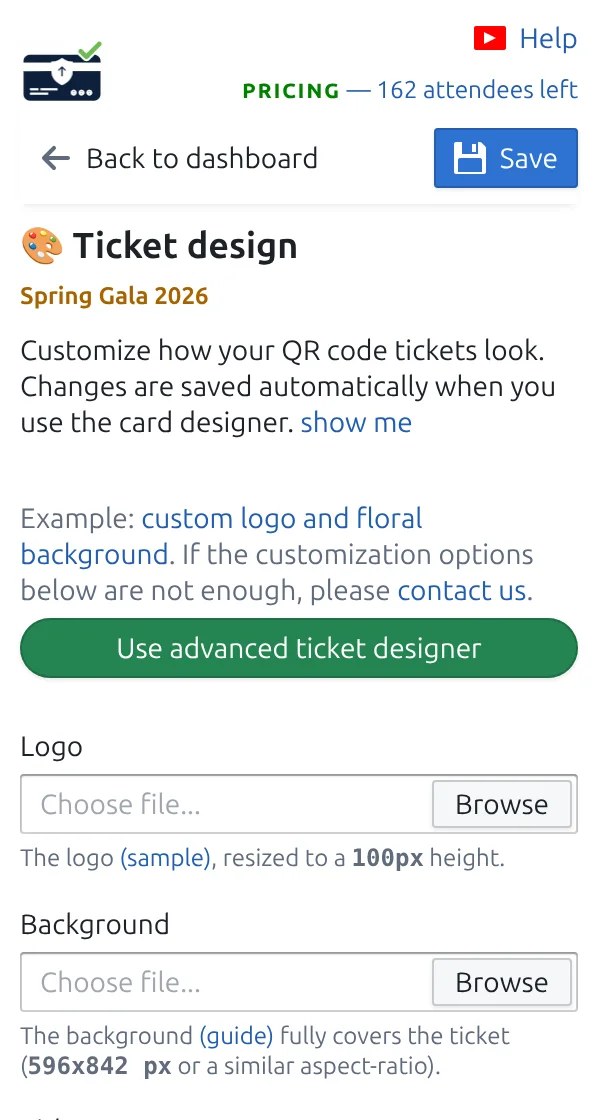
Ticket design: your logo, your colours, your wording. Tap it to see it bigger. -
Step 6 of 7
Open the scanner and check yourself in
Open the check-in app on your phone, allow the camera, and scan the ticket you received. Your own name appears with a confirmation sound. That is exactly what your staff will see on the day.
You should now see: Your name appears on the phone and the scan is accepted.
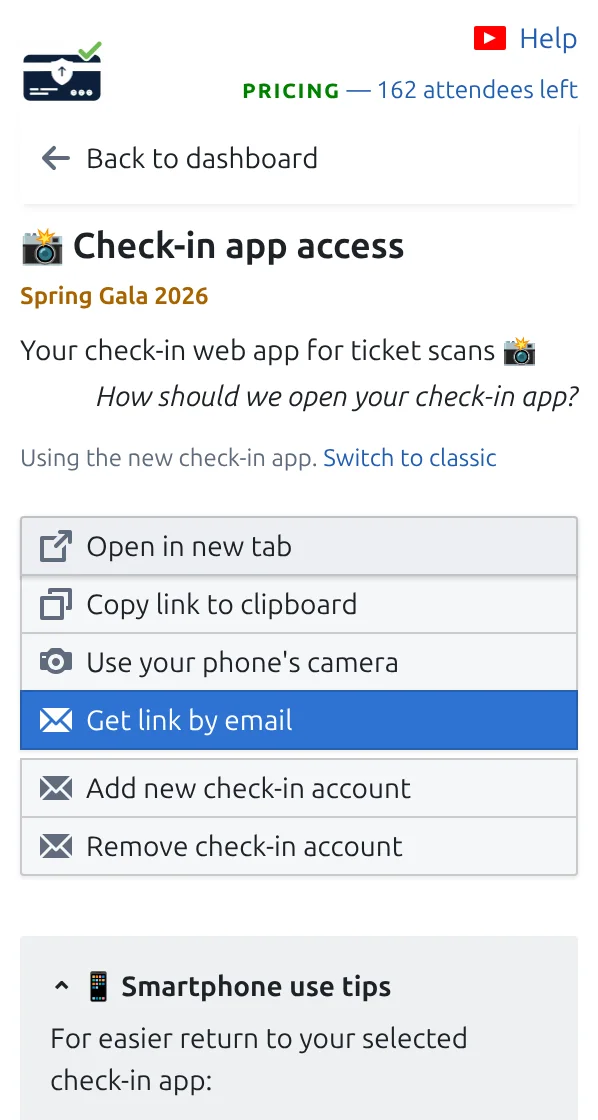
Everything your team needs to start scanning is on this one page. Tap it to see it bigger. -
Step 7 of 7
Clear your test before the real thing
Your test response counts as a real guest, so remove it, or clear the check-ins, before your event opens. Then your reports start from zero.
You should now see: Your reports no longer show your test.
Where to go next
Next step
Ready to get started with QR code tickets?
Create QR code tickets for Google Sheets, Google Forms, Jotform, Tally, Fillout, or WordPress. Pick the workflow you already use, then keep your attendee list in one place.