Gamitin ang mga QR code na mayroon ka na
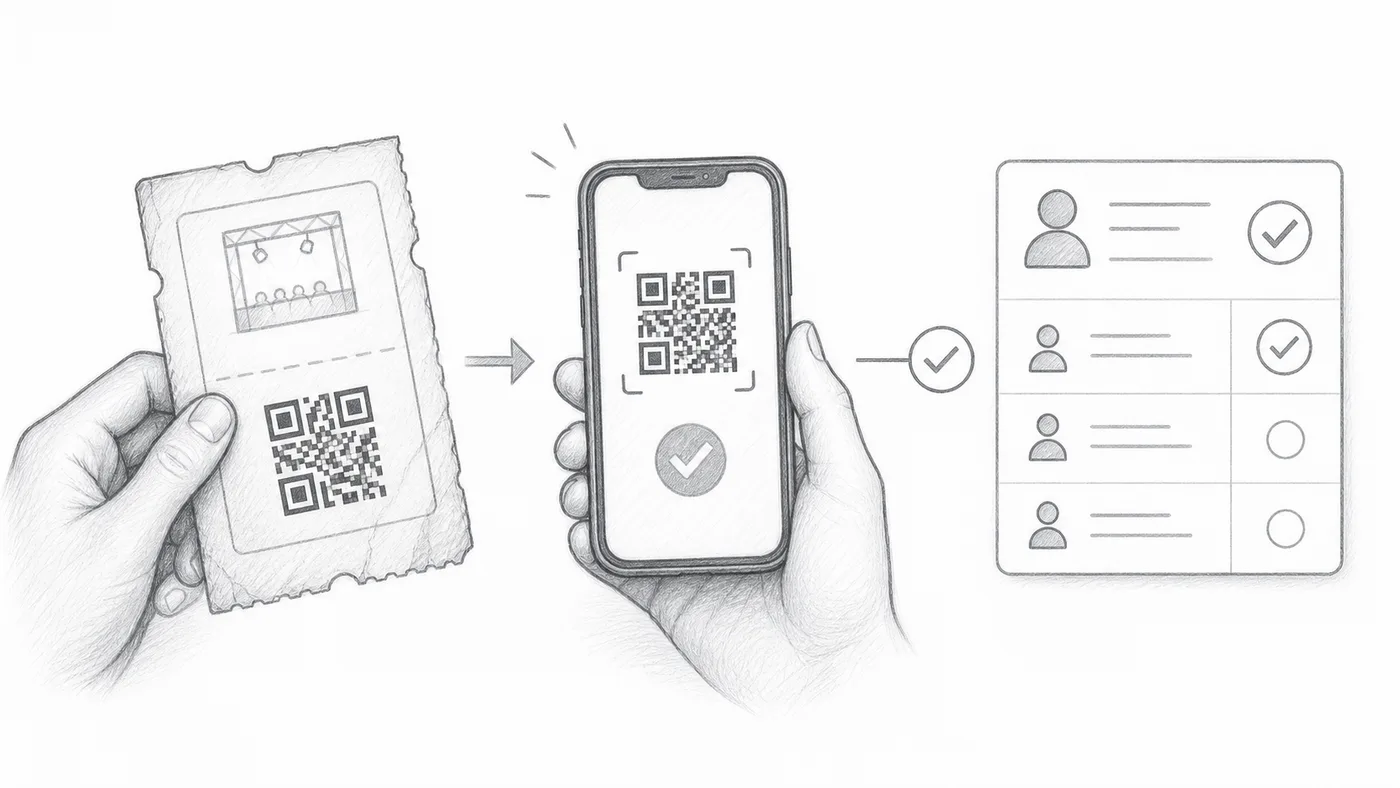
Nakalimbag na ang mga QR code, o may mga ticket mula sa lumang sistema? Huwag nang mag-print muli: itutok ang setting sa teksto sa loob ng mga code na iyon at makikilala ng check-in app ang mga ito katabi ng sarili nitong mga ticket.
Itago ang external QR value
I-save ang text na nasa loob ng kasalukuyang QR code sa isang column ng sheet o tanong sa form.
Piliin ang field na iyon
Piliin ito bilang Pinagmulan ng custom QR content, sa ilalim ng Mga setting ng check-in → Mga advanced na setting ng check-in.
I-scan ang alinmang QR
Kinikilala ng check-in app ang kasalukuyan mong QR code at ang ticket na ginawa ng add-on.
Paano ito gumagana
Halimbawa
Ang QR code na may value mula sa External QR code ay nagbubukas ng parehong kalahok sa nagawang ticket.
Iwasan ang mga pagkakamaling ito
- Gamitin ang text na naka-save sa loob ng QR code, hindi screenshot o image link.
- Dapat unique ang mga value bawat kalahok maliban kung sinadya ang mga duplicate.
- Mag-test ng ilang totoong ticket bago ang araw ng event.
Susunod na hakbang
Handa ka na bang magsimula sa mga QR code ticket?
Gumawa ng mga QR code ticket para sa Google Sheets, Google Forms, Jotform, Tally, Fillout, o WordPress. Piliin ang workflow na ginagamit mo na, pagkatapos panatilihin ang attendee list mo sa isang lugar.