게스트별로 들어갈 수 있는 세션 정하기
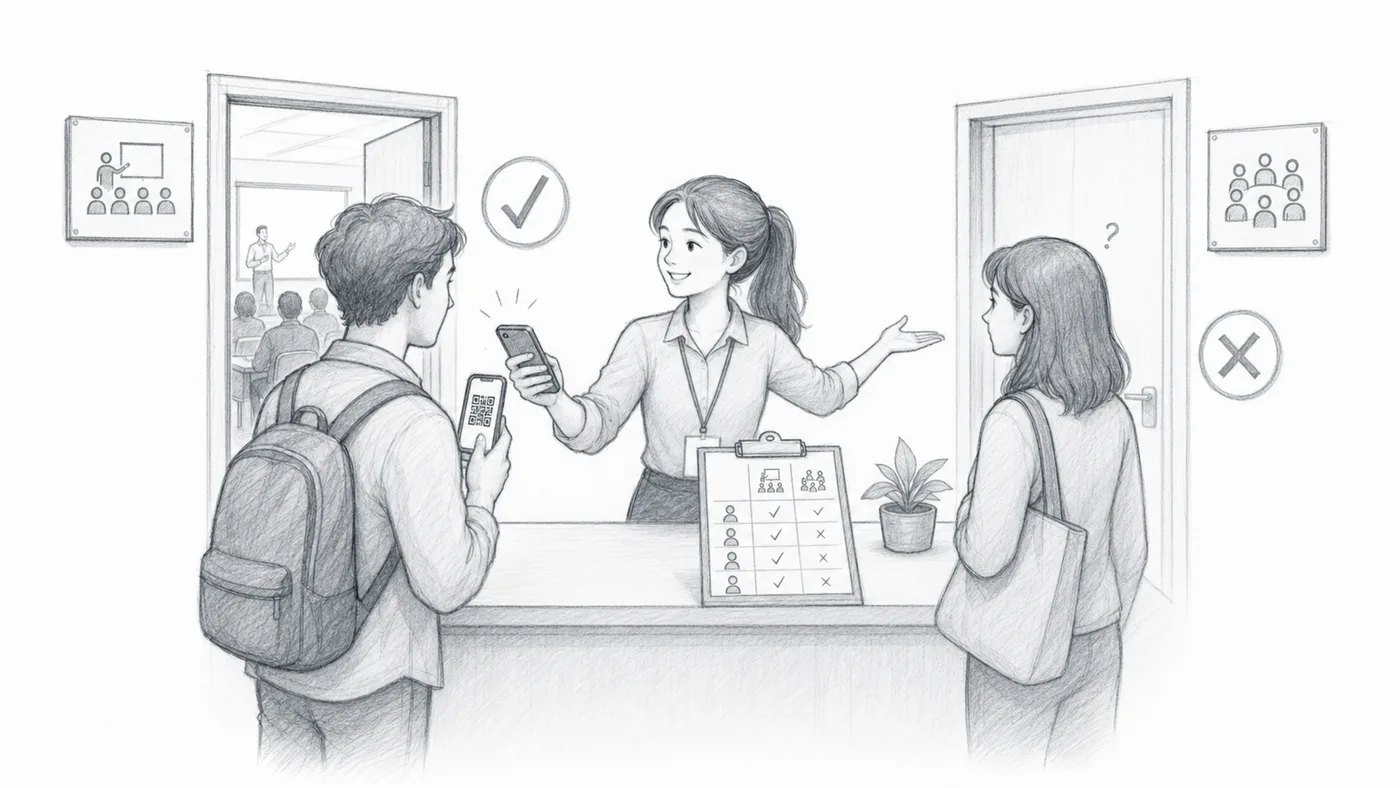
게스트마다 허용된 곳이 다를 때 사용합니다. 여기는 3일 VIP 패스, 저기는 단일 워크숍 티켓입니다. 목록의 열이 세션별로 가능 여부를 말하며 스캐너가 그대로 따릅니다.
1단계
세션 체크인 유형을 선택하세요
여기서 시작하세요: 세션별 체크인 방식을 고르세요. 그래야 스캐너가 매 스캔을 세션 이름에 연결하고, yes/no 열이 판단할 것이 생깁니다.
2단계
한 줄에 하나의 세션 이름을 추가하세요
이 이름들이 체크인 직원이 사용하는 세션 선택 메뉴가 됩니다.
3단계
필요할 때 세션 권한을 활성화하세요
세션마다 열이나 폼 질문을 하나씩 추가하고, 세션과 글자 그대로 같은 이름을 붙인 뒤, 들어갈 수 있는 게스트에게 “yes”라고 쓰세요. 게스트의 스캔은 허용된 세션에서 초록불이 켜지고 나머지에서는 거절됩니다.
맞아야 할 세 가지
- 1 세션별 체크인이 켜져 있어 스캐너가 매 스캔이 어느 세션용인지 묻습니다.
- 2 각 세션에는 전용 열 — Forms에서는 질문 — 이 있으며, 글자와 공백까지 완전히 똑같이 씁니다.
- 3 그 열은 들어갈 수 있는 모든 게스트에게 “yes”라고 적혀 있습니다. 나머지는 모두 no로 칩니다.
작동 방식
내 세션으로 해보세요
2분 인터랙티브 데모: 세션 이름을 입력하고, 누가 어디에 들어갈 수 있는지 정하고, 샘플 QR 티켓을 만든 뒤, 도어 스태프가 되어 게스트를 스캔해 보세요.
인터랙티브 데모 열기 →예시
Ada Mensah의 Workshop A 아래에 "yes"가 있으면 그 세션 스캔이 통과합니다. 다른 세션은 실패합니다.
작동 방식 보기
이런 실수를 피하세요
- 권한이 활성화되면 세션 이름이 참석자 데이터 필드와 일치해야 합니다.
- Sheets 사용자는 세션 권한 열을 변경한 후 참석자 데이터를 업데이트해야 합니다.
- 참석자당 세션당 한 번의 스캔만 필요할 때 중복 불가 세션을 사용하세요.
실제 설정에서 보기
다음 단계
QR 코드 티켓을 시작할 준비가 되셨나요?
Google Sheets, Google Forms, Jotform, Tally, Fillout 또는 WordPress용 QR 코드 티켓을 만드세요. 이미 사용 중인 워크플로를 선택한 다음 참석자 명단을 한곳에 유지하세요.