Piliin ang makikita ng mga bisita sa kanilang ticket email
Hindi pare-pareho ang trato ng mga email app sa mensahe: may mga nagtatago ng larawan sa likod ng isang tap, may mga pumuputol ng mahahabang email. Inilalagay ng mga opsyong ito nang maingat ang QR code sa email para mabilis mahanap ng bawat bisita ang ticket nila, anumang app ang gamitin.
I-configure ang ticket email
Itakda muna kung sino ang tatanggap ng email at ano ang laman: recipient field, subject, body, sender, at attachments.
Piliin ang ipapakita ng email
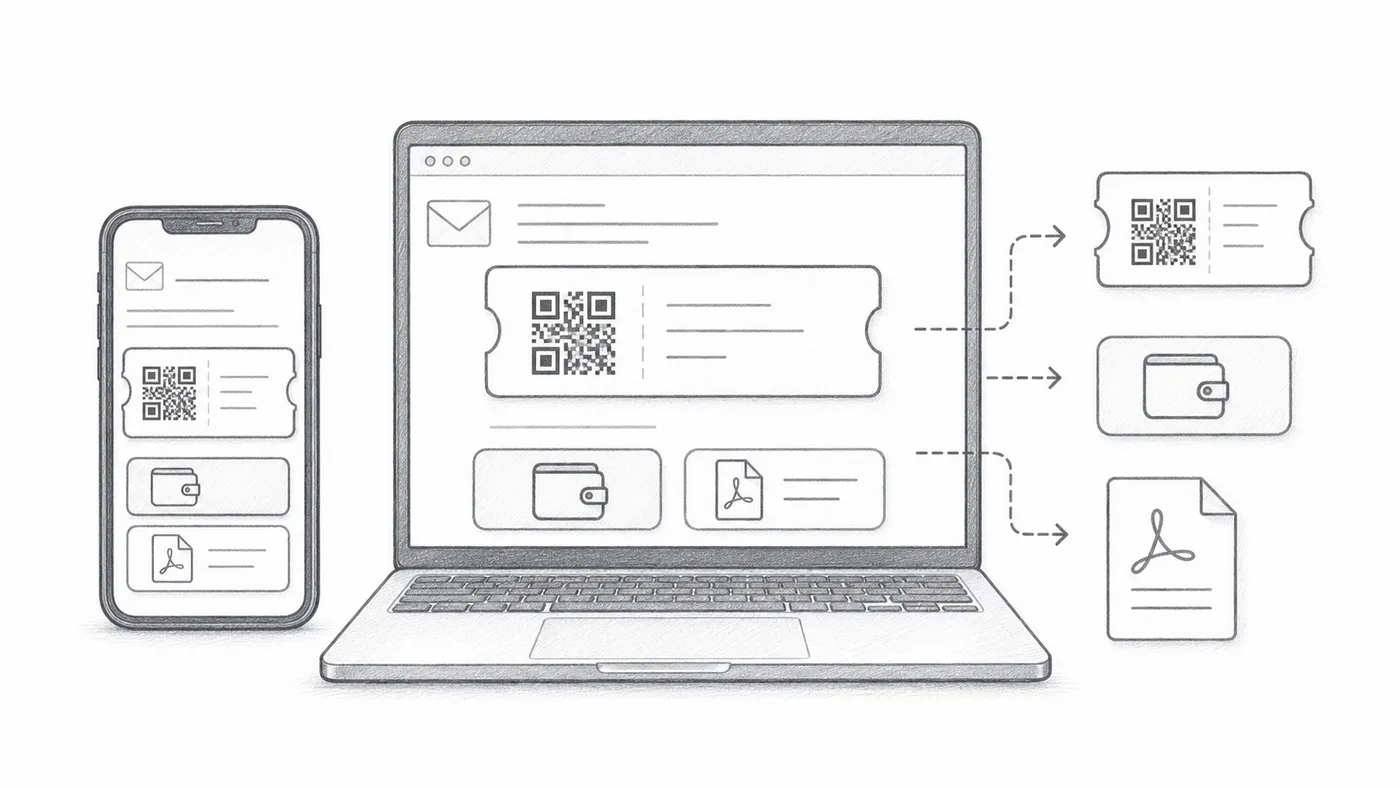
Ang QR image ay pwedeng nasa mismong mensahe, pwedeng sumulpot sa ilalim ang mga button ng Google Wallet at Apple Wallet, at pwedeng bitbitin ng PDF footer ang maikling ticket code. Patayin ang mga hindi kailangan ng mga bisita mo.
Magpadala ng test
Buksan ito sa mobile at desktop bago ipadala sa lahat ng kalahok.
Paano ito gumagana
Halimbawa
Ang mga ticket ay ipinapadala sa Email address; ang inline QR ay pwedeng magpakita ng code nang diretso sa mensahe.
Iwasan ang mga pagkakamaling ito
- Ang ilang email client ay nagtatago ng mga image by default.
- Ang mga wallet button ay kapaki-pakinabang sa mga event na unang-mobile.
- Ang mga PDF attachment ay madalas mas ligtas para sa pag-print.
Susunod na hakbang
Handa ka na bang magsimula sa mga QR code ticket?
Gumawa ng mga QR code ticket para sa Google Sheets, Google Forms, Jotform, Tally, Fillout, o WordPress. Piliin ang workflow na ginagamit mo na, pagkatapos panatilihin ang attendee list mo sa isang lugar.