เลือกว่าแขกจะเห็นอะไรในอีเมลบัตร
แอปอีเมลไม่ได้จัดการข้อความเหมือนกันหมด: บางแอปซ่อนรูปไว้หลังการแตะ บางแอปตัดอีเมลยาวทิ้ง ตัวเลือกเหล่านี้วางคิวอาร์โค้ดอย่างระมัดระวังในอีเมล เพื่อให้แขกทุกคนเจอบัตรของตัวเองเร็ว ไม่ว่าจะใช้แอปใด
ขั้นตอนที่ 1
กำหนดค่าอีเมลบัตร
ตั้งก่อนว่าใครได้รับอีเมลและเนื้อหาว่าอะไร: ฟิลด์ผู้รับ หัวเรื่อง เนื้อความ ผู้ส่ง และไฟล์แนบ
ขั้นตอนที่ 2
เลือกว่าอีเมลจะแสดงอะไร
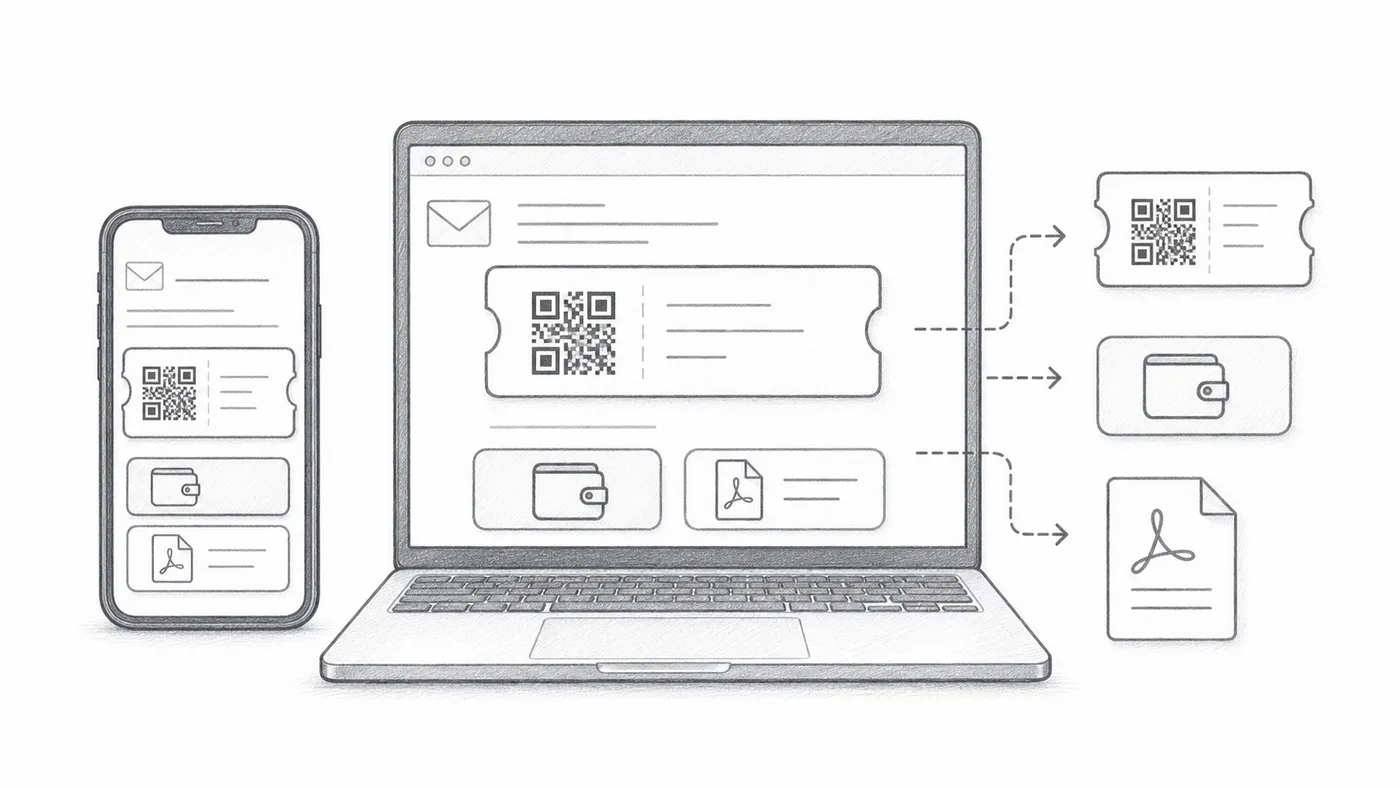
ภาพคิวอาร์วางในข้อความเองได้ ปุ่ม Google Wallet และ Apple Wallet โผล่ใต้ภาพได้ และท้าย PDF พกโค้ดบัตรย่อได้ ปิดสิ่งที่แขกของคุณไม่จำเป็น
ขั้นตอนที่ 3
ส่งแบบทดสอบ
เปิดดูบนมือถือและคอมพิวเตอร์ก่อนส่งให้ผู้เข้าร่วมทั้งหมด
วิธีการทำงาน
ตัวอย่าง
บัตรจะถูกส่งไปยัง Email address; QR แบบฝังสามารถแสดงโค้ดโดยตรงในข้อความ
หลีกเลี่ยงข้อผิดพลาดเหล่านี้
- โปรแกรมอีเมลบางตัวซ่อนรูปภาพโดยค่าเริ่มต้น
- ปุ่มวอลเล็ตมีประโยชน์สำหรับงานที่เน้นมือถือเป็นหลัก
- ไฟล์แนบ PDF มักปลอดภัยกว่าสำหรับการพิมพ์
ขั้นตอนถัดไป
พร้อมเริ่มต้นกับบัตรคิวอาร์โค้ดแล้วหรือยัง?
สร้างบัตรคิวอาร์โค้ดสำหรับ Google Sheets, Google Forms, Jotform, Tally, Fillout หรือ WordPress เลือกเวิร์กโฟลว์ที่คุณใช้อยู่แล้ว จากนั้นเก็บรายชื่อผู้เข้าร่วมของคุณไว้ในที่เดียว