Wybierz, co goście widzą w mailu z biletem
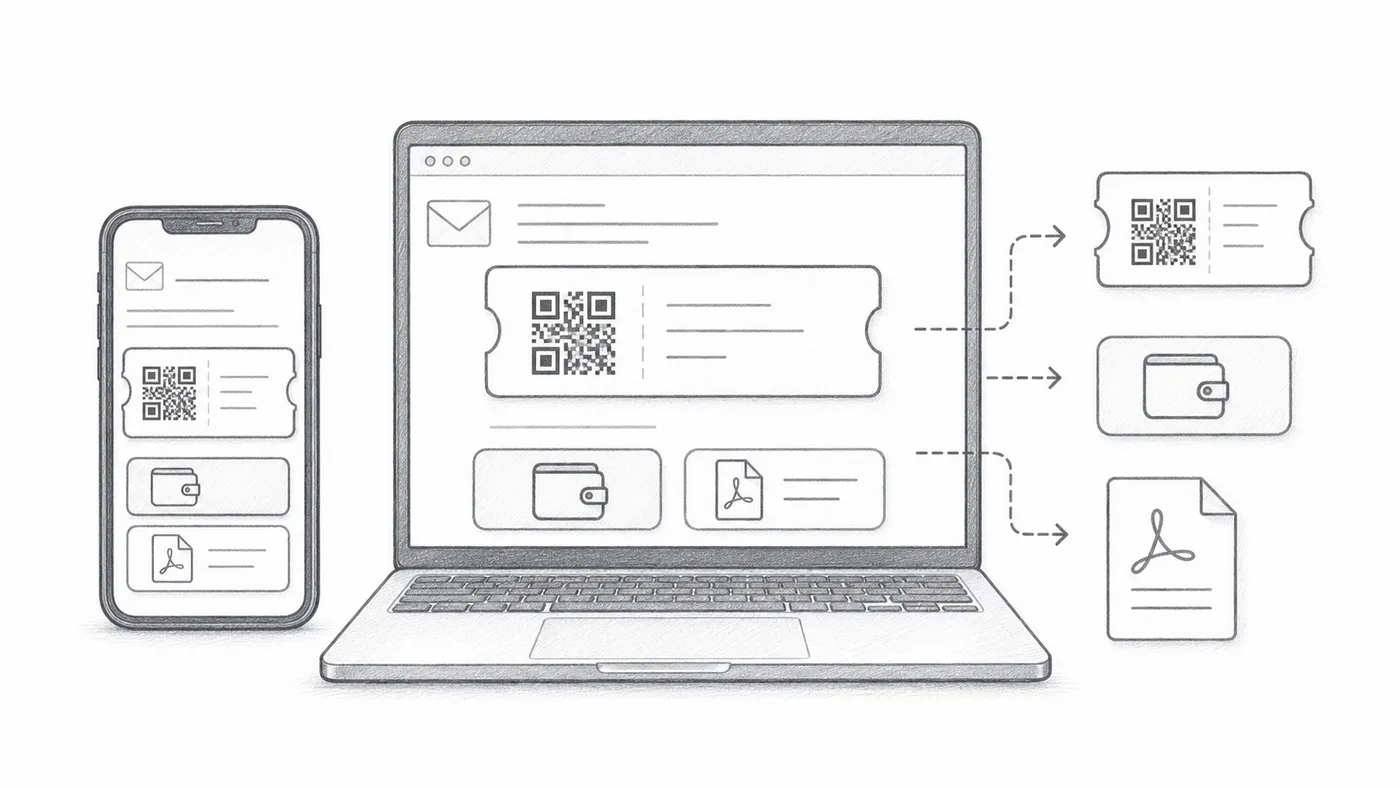
Aplikacje pocztowe nie traktują wiadomości jednakowo: jedne ukrywają obrazy za dotknięciem, inne ucinają długie maile. Te opcje ostrożnie umieszczają kod QR w mailu, żeby każdy gość szybko znalazł swój bilet, niezależnie od używanej aplikacji.
Skonfiguruj e-mail z biletem
Najpierw ustal, kto dostaje maila i co zawiera: pole odbiorcy, temat, treść, nadawca i załączniki.
Wybierz, co mail pokazuje
Obraz QR może być w samej wiadomości, przyciski Google Wallet i Apple Wallet mogą pojawić się pod nim, a stopka PDF może nieść krótki kod biletu. Wyłącz to, czego twoi goście nie potrzebują.
Wyślij test
Otwórz go na telefonie i komputerze przed wysłaniem do wszystkich uczestników.
Jak to działa
Przykład
Bilety są wysyłane na Email address; osadzony kod QR może pokazać kod bezpośrednio w wiadomości.
Unikaj tych błędów
- Niektóre programy pocztowe domyślnie ukrywają obrazy.
- Przyciski portfela są przydatne przy wydarzeniach mobilnych.
- Załączniki PDF są często bezpieczniejsze do druku.
Następny krok
Gotowy, by zacząć z biletami z kodem QR?
Twórz bilety z kodem QR dla Google Sheets, Google Forms, Jotform, Tally, Fillout lub WordPress. Wybierz proces, którego już używasz, a potem trzymaj listę uczestników w jednym miejscu.