Choose what guests see in their ticket email
Email apps do not all treat messages the same way: some hide pictures behind a tap, others clip long emails. These options place the QR code carefully in the email so every guest finds their ticket quickly, whatever app they use.
Configure ticket email
First set who receives the email and what it says: recipient field, subject, body, sender, and attachments.
Choose what the email shows
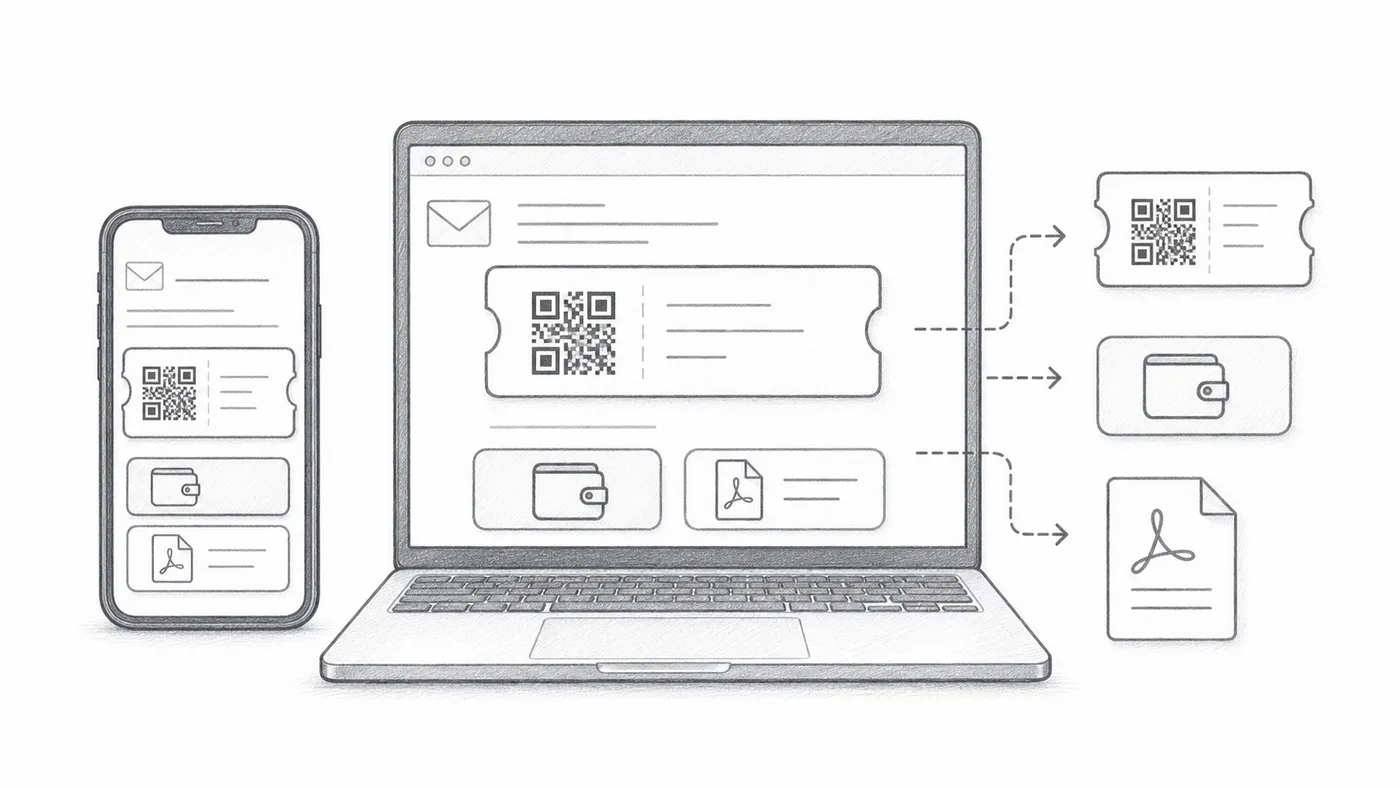
The QR image can sit inside the message itself, Google Wallet and Apple Wallet buttons can appear under it, and the PDF footer can carry the short ticket code. Turn off whatever your guests do not need.
Send a test
Open it on mobile and desktop before sending to all attendees.
How it works
Example
Tickets are sent to Email address; inline QR can show the code directly in the message.
Avoid these mistakes
- Some email clients hide images by default.
- Wallet buttons are useful for mobile-first events.
- PDF attachments are often safer for printing.
Next step
Ready to get started with QR code tickets?
Create QR code tickets for Google Sheets, Google Forms, Jotform, Tally, Fillout, or WordPress. Pick the workflow you already use, then keep your attendee list in one place.