게스트가 티켓 이메일에서 볼 것 선택하기
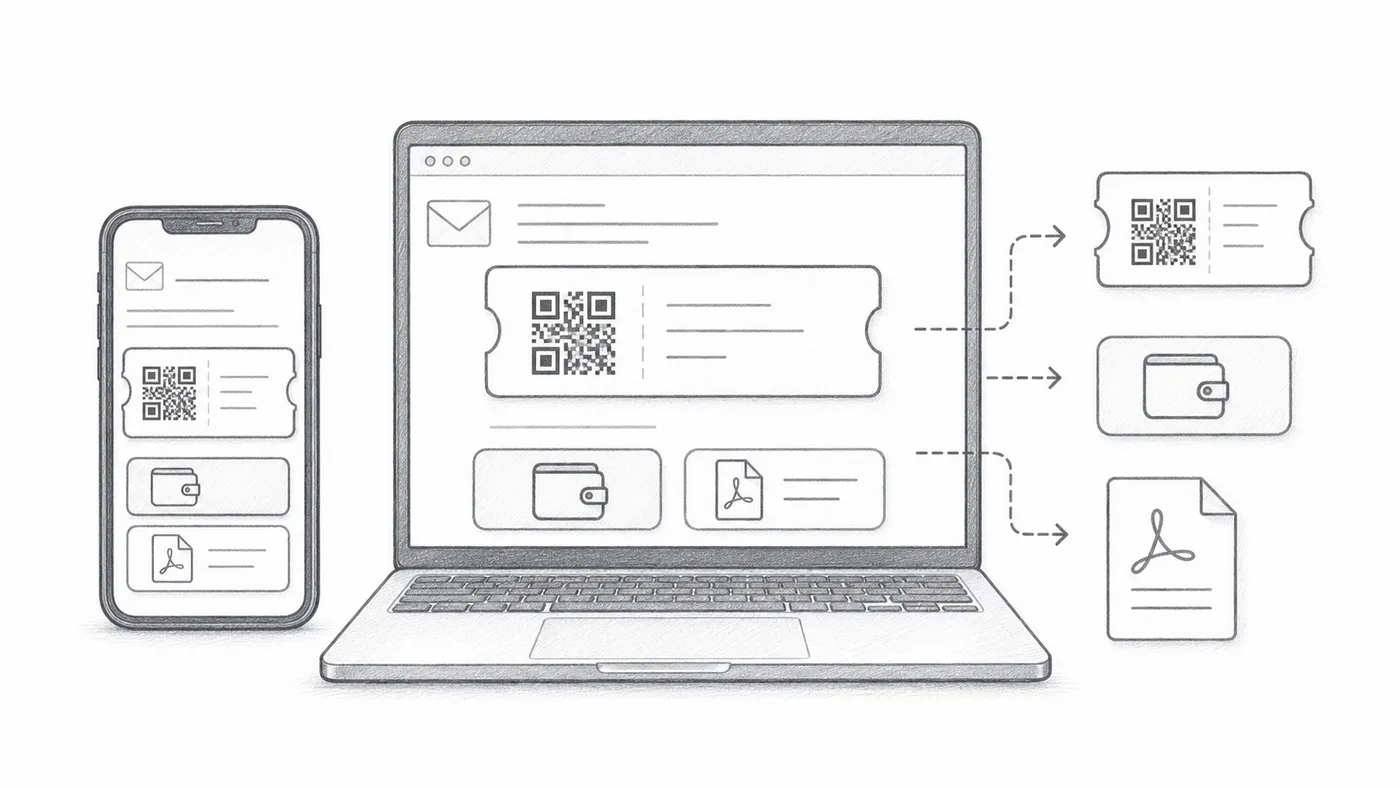
이메일 앱마다 메시지를 다루는 방식이 다릅니다. 이미지를 탭 뒤로 숨기는 앱도, 긴 메일을 잘라내는 앱도 있습니다. 이 옵션들은 QR 코드를 메일 안 적절한 위치에 배치해 어떤 앱을 쓰든 게스트가 티켓을 빨리 찾게 합니다.
1단계
티켓 이메일을 구성하세요
먼저 누구에게 보낼지, 무엇이라고 쓸지 정하세요. 받는 사람 필드, 제목, 본문, 발신자, 첨부 파일입니다.
2단계
메일에 표시할 항목 선택하기
QR 이미지는 메시지 안에 들어갈 수 있고, 그 아래 Google Wallet·Apple Wallet 버튼이 나타날 수 있으며, PDF 바닥글에는 짧은 티켓 코드가 실릴 수 있습니다. 게스트에게 필요 없는 것은 끄세요.
3단계
테스트를 보내세요
모든 참석자에게 보내기 전에 모바일과 데스크톱에서 열어 보세요.
작동 방식
예시
티켓은 Email address으로 발송됩니다. 인라인 QR은 메시지 안에 코드를 바로 보여 줄 수 있습니다.
이런 실수를 피하세요
- 일부 이메일 클라이언트는 기본적으로 이미지를 숨깁니다.
- 월렛 버튼은 모바일 중심 이벤트에 유용합니다.
- PDF 첨부 파일은 인쇄에 더 안전한 경우가 많습니다.
다음 단계
QR 코드 티켓을 시작할 준비가 되셨나요?
Google Sheets, Google Forms, Jotform, Tally, Fillout 또는 WordPress용 QR 코드 티켓을 만드세요. 이미 사용 중인 워크플로를 선택한 다음 참석자 명단을 한곳에 유지하세요.